config
父项目中新建一个模块
构建子模块步骤前面有不多说
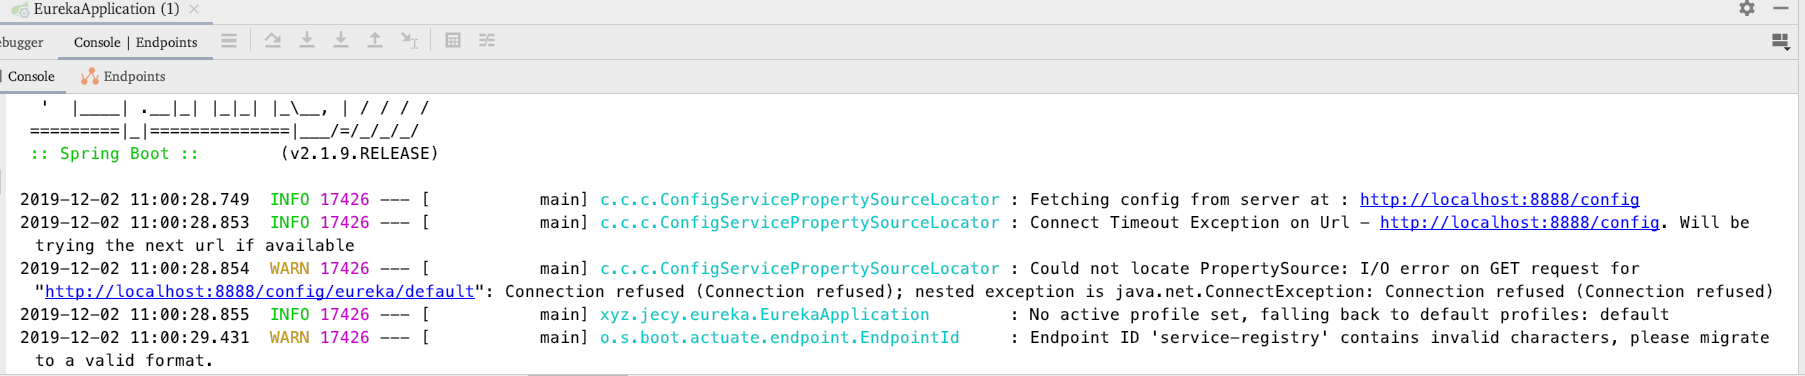
eureka启动后有这个提示,要加个config项目
- 引用个依赖
build.gradle文件,和之前的很像,引的包不一样而已。
1 | version = '0.0.1-SNAPSHOT' |
- 加上个注解
和之前的还是一样,只是注解不同…
1 |
|
- 改改配置文件
首先把
resources文件夹下的application.properties干掉,然后加上bootstrap.yml文件。
1. 配置文件 还是用git配置方便,毕竟项目也是要版本控制的。
1 | spring: |
说明 Spring Cloud Config也提供本地存储配置的方式。需要设置属性spring.profiles.active=native,Config Server会默认从应用的src/main/resource目录下检索配置文件。
2. 把项目提交到git仓库中去

3. 再建一个`config-repo`子模块存放配置文件
I'm so cute. Please give me money.


- Post link: http://dongkw.github.io/2019/12/05/spring%E9%85%8D%E7%BD%AE%E4%B8%AD%E5%BF%83config%E9%85%8D%E7%BD%AE/
- Copyright Notice: All articles in this blog are licensed under unless stating additionally.
若没有本文 Issue,您可以使用 Comment 模版新建。
GitHub Issues